Wow, apparently, I took a two year hiatus from writing on my food blog! But I’ve got a good excuse – I’ve been too busy being a mom to two children under 3. For you moms, you know what that entails and how little time you get to yourself to even do things like shower, muchless put together a coherent thought or write. But this year, I’m trying to reclaim a little of my life that I loved and missed before, (re)learning how to be healthy and happy in ways that also can benefit my spiritual, emotional, mental and physical self. I was raised by an amazing mom who gave her all to everyone around her. That’s what I saw. That’s what I know. However, as women, we so often forget the importance of taking care of ourselves so that we can be better to those around us.
This year, I will attempt something that I’ve always found excuses to put off but know is important. I will improve my physical health and train to do my first 5k. With the support of my family and friends, I’ll possibly even do two. This year, I will write — to communicate, to share, to include, to inspire, to entertain. Those are my goals for 2014. And as always, I will cook, but that’s no goal…that’s a necessity. So, let’s at least make it good! On to the food…
I made this for my family last night – it was simple, pretty healthy, not expensive to make and yummy (that’s a great recipe already). I have a 40+ husband, a 3 year-old and an 18 month-old who all have different tastes. They ate it all! The turkey meatballs provide lean protein, while still coming out nice and tender. The pasta already has veggies in it, so your kid will eat it, and you’ll feel good about it! Nguyen-Win Situation!
Ingredients (as always, try to get the highest quality that you can, fresh over frozen or dry):
- 2 lb of lean ground turkey meat
- 1 cup of spinach & parmesan dip (from Costco, great for appetizer, but really adds wonderful flavor)
- lots of fresh ground paper
- 2 tbsp garlic powder
- 1 tbsp basil
- 1 cup bread crumbs (I use Progresso Italian Style Bread Crumbs for the extra flavor/seasoning)
- 1/2 cup olive oil
- 1 – 12 oz box of veggie penne (I prefer Barilla Veggie Penne, which is made from pureed tomatoes and carrots. My kids love this stuff, and each 3.5 oz portion provides 20% of the daily recommended veggies – awesome!)
For the sauce:
- 1 jar Vodka sauce (I use Bertolli Italian Vodka Sauce, but you can substitute for plain tomato sauce if you want to cut calories)
- 1 cup red wine
- 2 tsp sugar (or sugar substitute like Splenda to counter the saltiness of the wine)
- 1/2 cup shredded parmesan cheese
Directions:
- Preheat the oven to 400 degrees on Bake.
- In a medium sized bowl, mix together the turkey, spinach dip, fresh ground pepper, garlic, basil and Italian bread crumbs
- Using a teaspoon, roll the mixture into small meatballs and put aside. You can probably make 30-32 or so from this amount.
- Add the olive oil to a pan set to medium high, add meatballs and brown on each side for about 5-6 minutes. (I use a Le Creuset that can go from stove to oven).
- Drain out the excess oil, leaving only about 1-2 tbs in the pan.
- If you do not have a stove to oven pan, then transfer meatballs to an oven-safe tray.
- Add in the vodka sauce, red wine and sugar, stirring until everything is mixed and covering the meatballs.
- Cook in oven for 40-45 minutes. (I did uncovered for 20 minutes, then reduced heat to 375 and covered it once the sauce bubbled so the meatballs didn’t overly brown)
- Boil a pot of water and cook the penne for 7-8 minutes (al dente) or 10 minutes (softer pasta, which my kids prefer). Drain and portion into bowls/plates.
- Once the meatballs/sauce are done (and the alcohol cooks through, so don’t freak out!), remove from oven and ladle over pasta. Top with parmesan cheese (my kids love to help with this part and “sprin-kle!”). And if you’re like me, serve yourself a hefty helping of a glass of wine to get you through the next 30 minutes of trying to get your kids fed. Voila!
Prep time: < 5 minutes
Cook time: 1 hour
Serves: 4-6 (depending on how much your littles eat)

Browning the meatballs

Meatballs drowning in vodka sauce
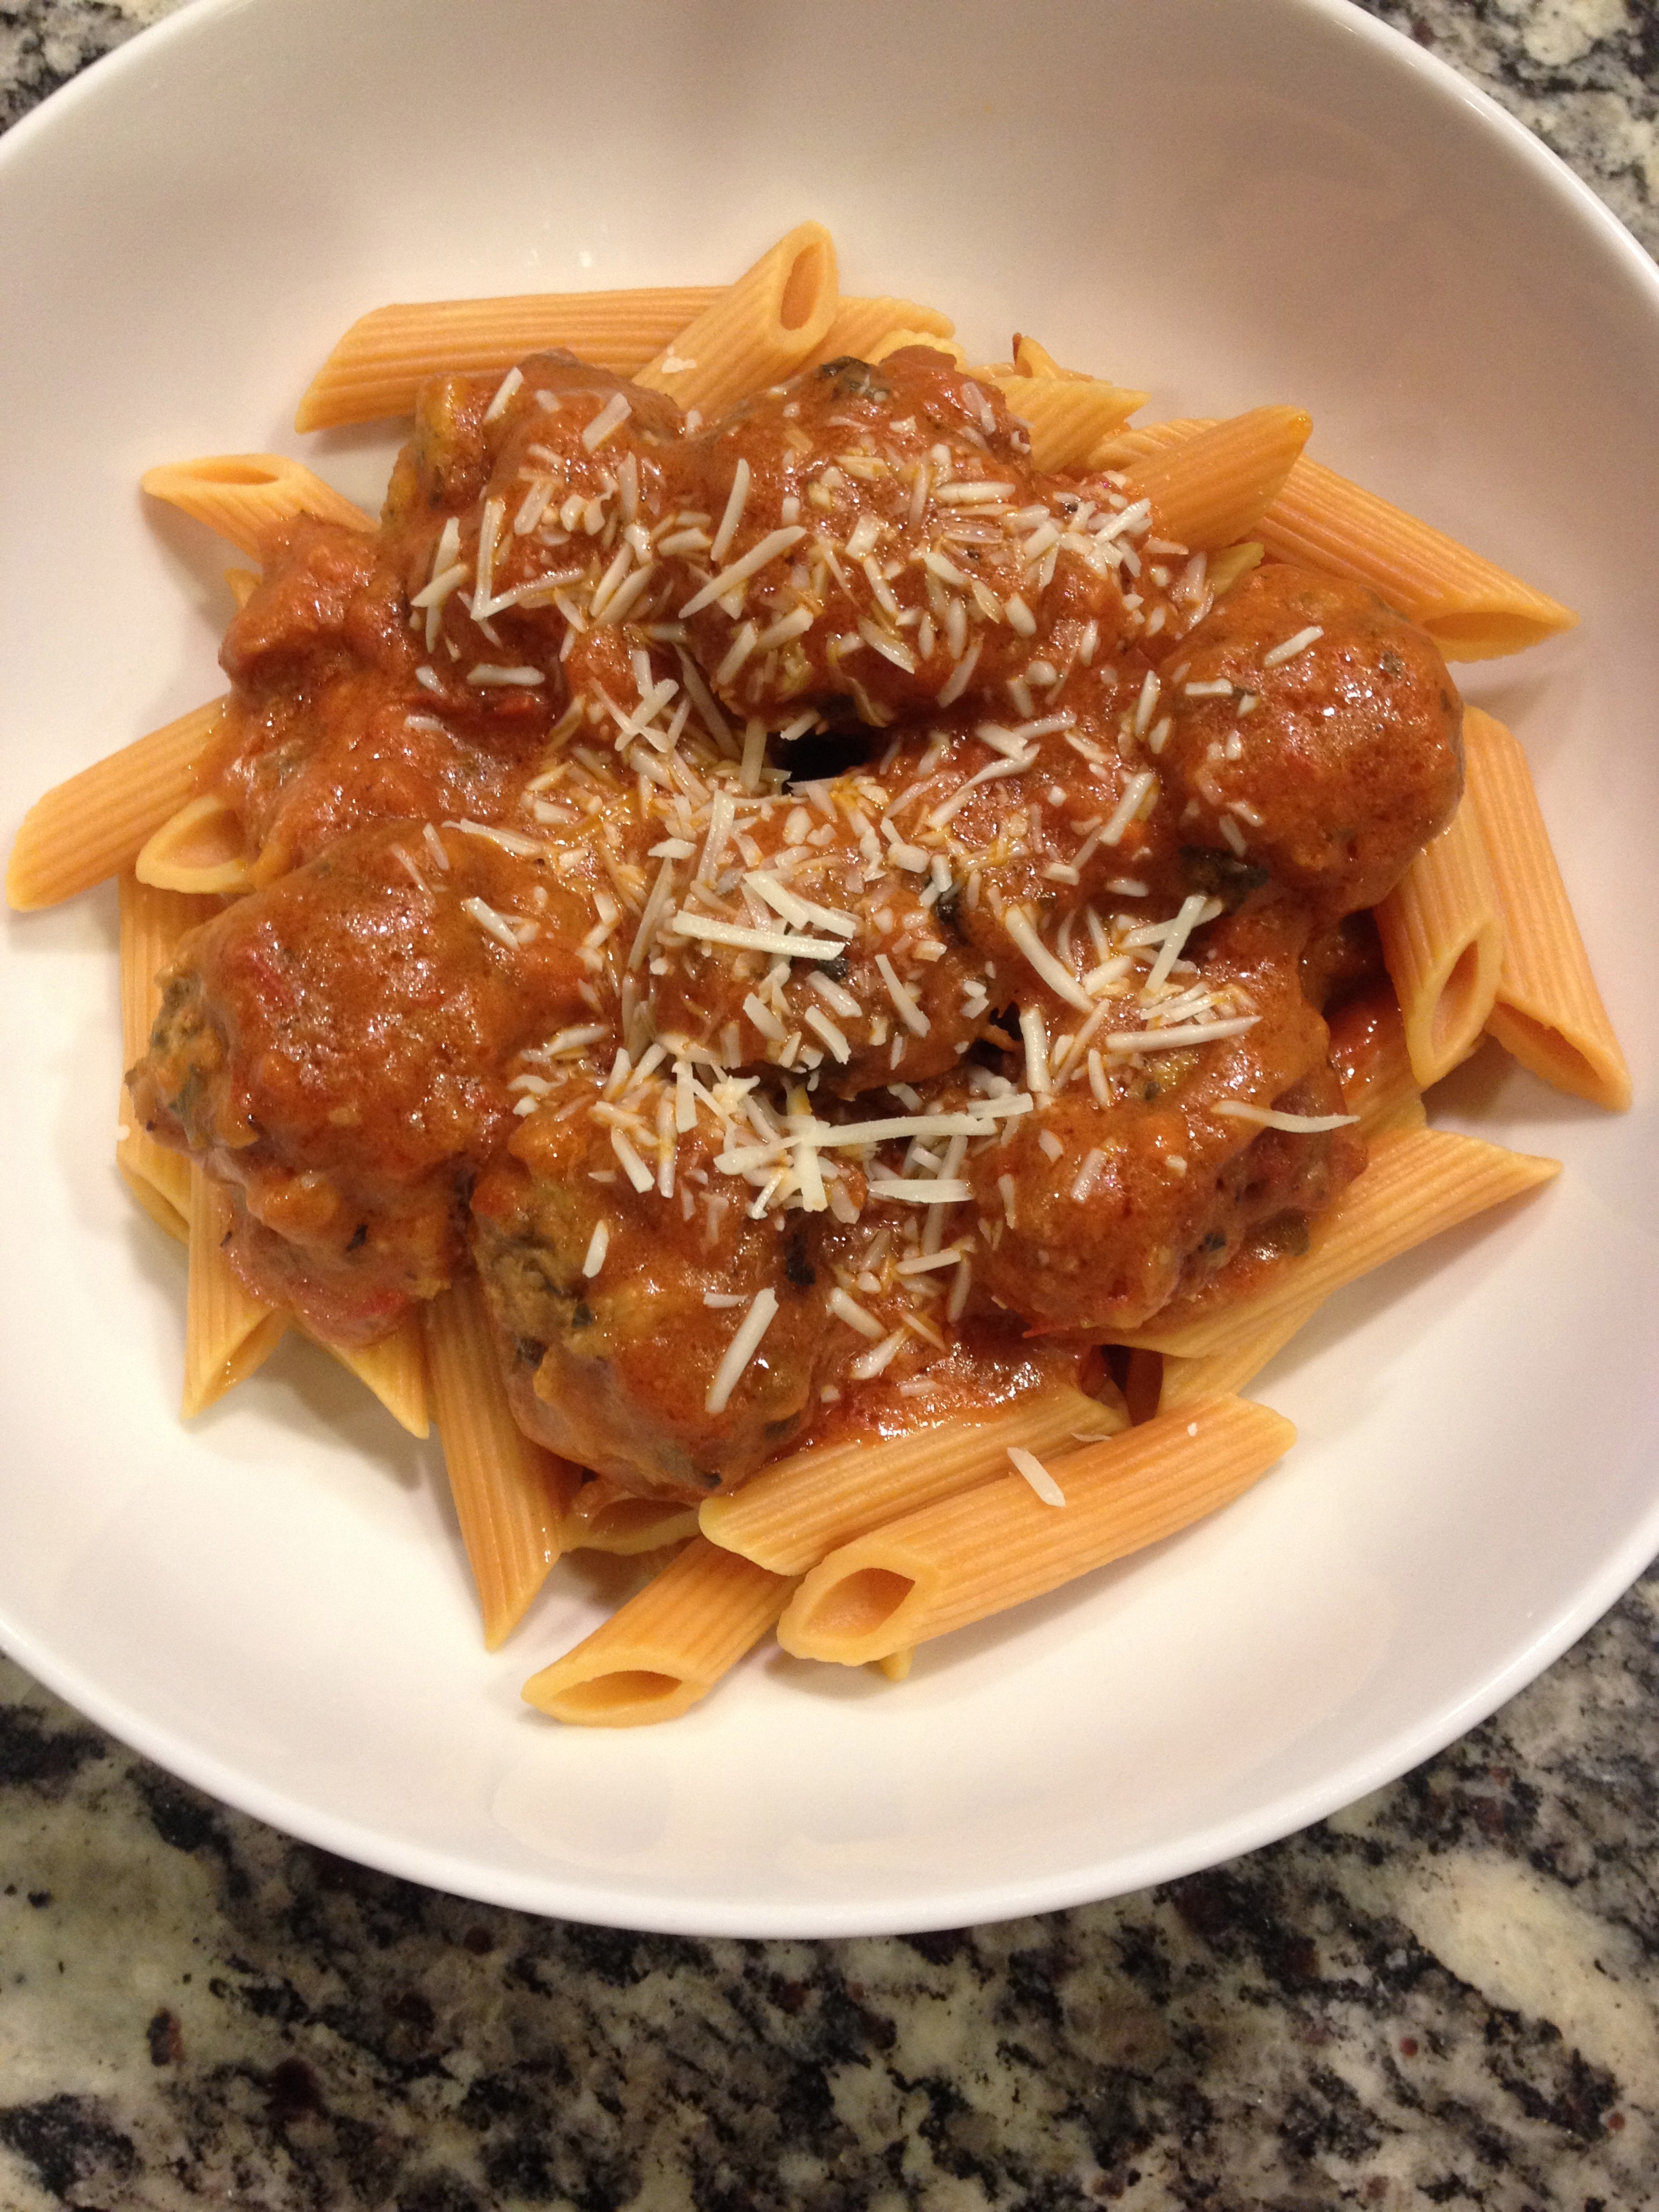
The finished product


Recent Comments